Stripe Payment Method for Moodle
Charge students to access your excellent course materials by adding a Stripe payment enrollment method! Stripe Call allows you various options for monetizing access to your course materials, including subscription services, trial, periods, and promo codes.

Integrating Stripe into Moodle
"Offer course subscription packages with Stripe!"
In this tutorial, we introduce integrating Stripe payment processing into your self-hosted Moodle instance in order to monetizing your courses. We'll guide you through the step-by-step process of setting up a Stripe payment method for course access. Not only does Stripe constitute an additional method of monetizing your course content, it also allows you to charge for access to content by subscription --an option that is not available in the basic PayPal enrollment method.

Stripe provides a secure and seamless payment solution for monetizing course access on your LMS.
"Why not use a third-party market place (e.g., Coursera, Udemy, etc.)?"
Educators might prefer monetizing content on their own self-hosted LMS over third-party course marketplaces for several reasons. Firstly, self-hosted LMS platforms offer educators greater control and flexibility over their courses, branding, and pricing structures. Also, educators can customize the user experience and maintain direct communication with their students, fostering stronger relationships and brand loyalty. Additionally, self-hosted LMS solutions often provide more extensive analytics and reporting capabilities, empowering educators to gain deeper insights into their audience and course performance. Furthermore, by avoiding third-party marketplaces, educators retain ownership of their content and can avoid revenue-sharing arrangements or platform fees, maximizing their profit margins. Finally, keeping everything on a self-hosted LMS platform offers you more autonomy and scalability, enabling you to adapt quickly to evolving market demands and expand your offerings without being constrained by marketplace regulations or restrictions.
"What is Stripe?"
Stripe is a widely-used online payment processing platform that enables businesses to accept payments over the internet securely. By incorporating Stripe's payment functionalities into their LMS platforms, educators can easily monetize their content by offering courses, subscriptions, or digital products to students. With its user-friendly interface and robust security features, Stripe simplifies the payment process, allowing educators to focus on creating high-quality content while seamlessly handling transactions. Additionally, Stripe's extensive documentation and developer resources make it straightforward for educators to integrate payment capabilities into their LMS, ensuring a smooth and efficient monetization process.
Prerequisites
- A functional LMS site with high-quality content that is worth your users' hard-earned money!
Instructions
1. Open an account on Stripe
First, you will need to register for a Stripe account on Stripe.com:
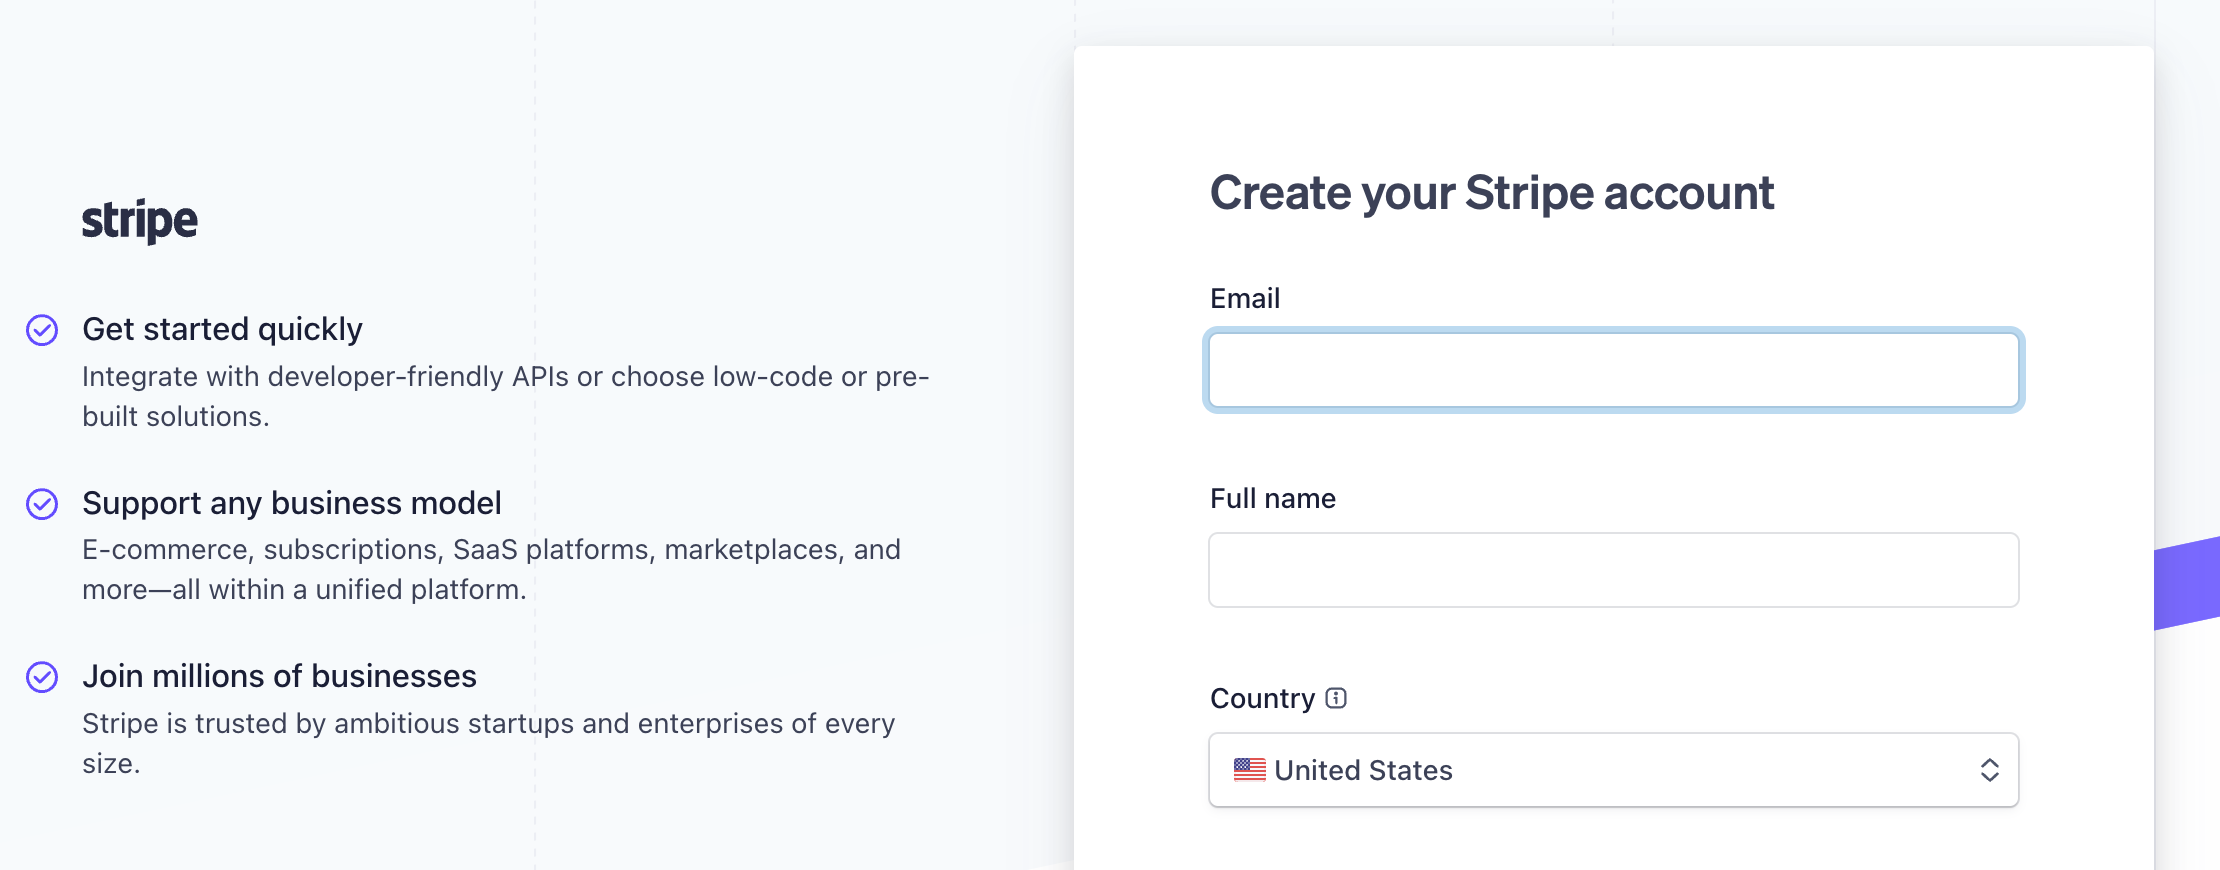
Registering with Stripe
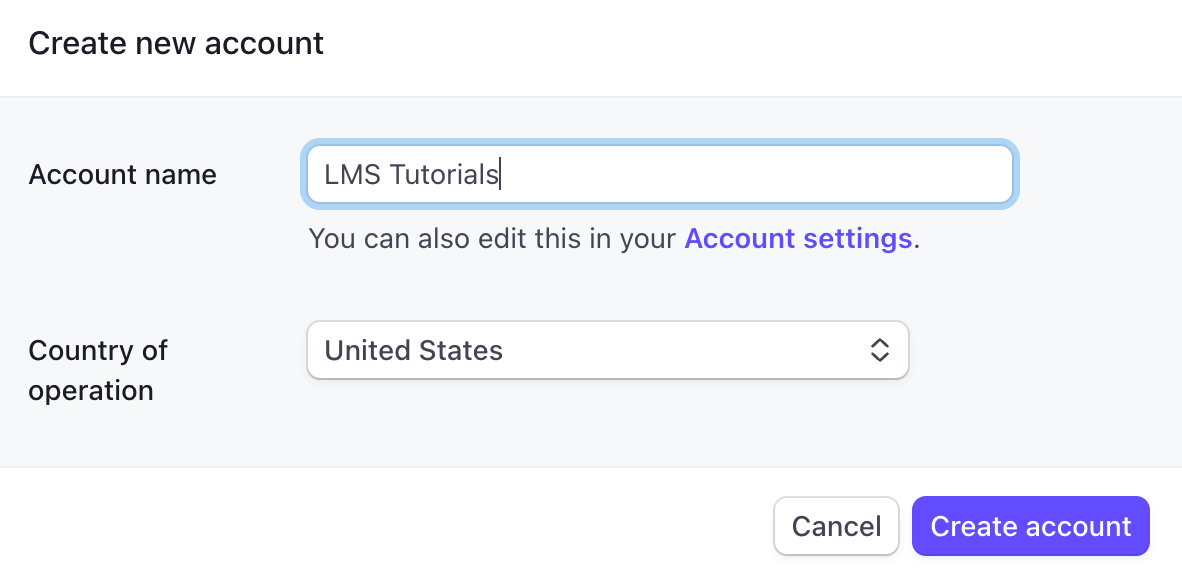
Creating an account
This is where your payments will be processed!
2. Install the Stripe Plugin for Moodle
Moodle does not have the capability to interact with your Stripe account by default. You need to install a free plugin for this.
You can search for plug-ins by going to "install plugins" in the site administration menu:

The "Install Plugins" option in the admin menu
Search for the "paygw_stripe" plugin. Be careful: There are other plugin options for Stripe integration, which we cannot vouch for. We have noticed that there are at least a couple options that are not free!
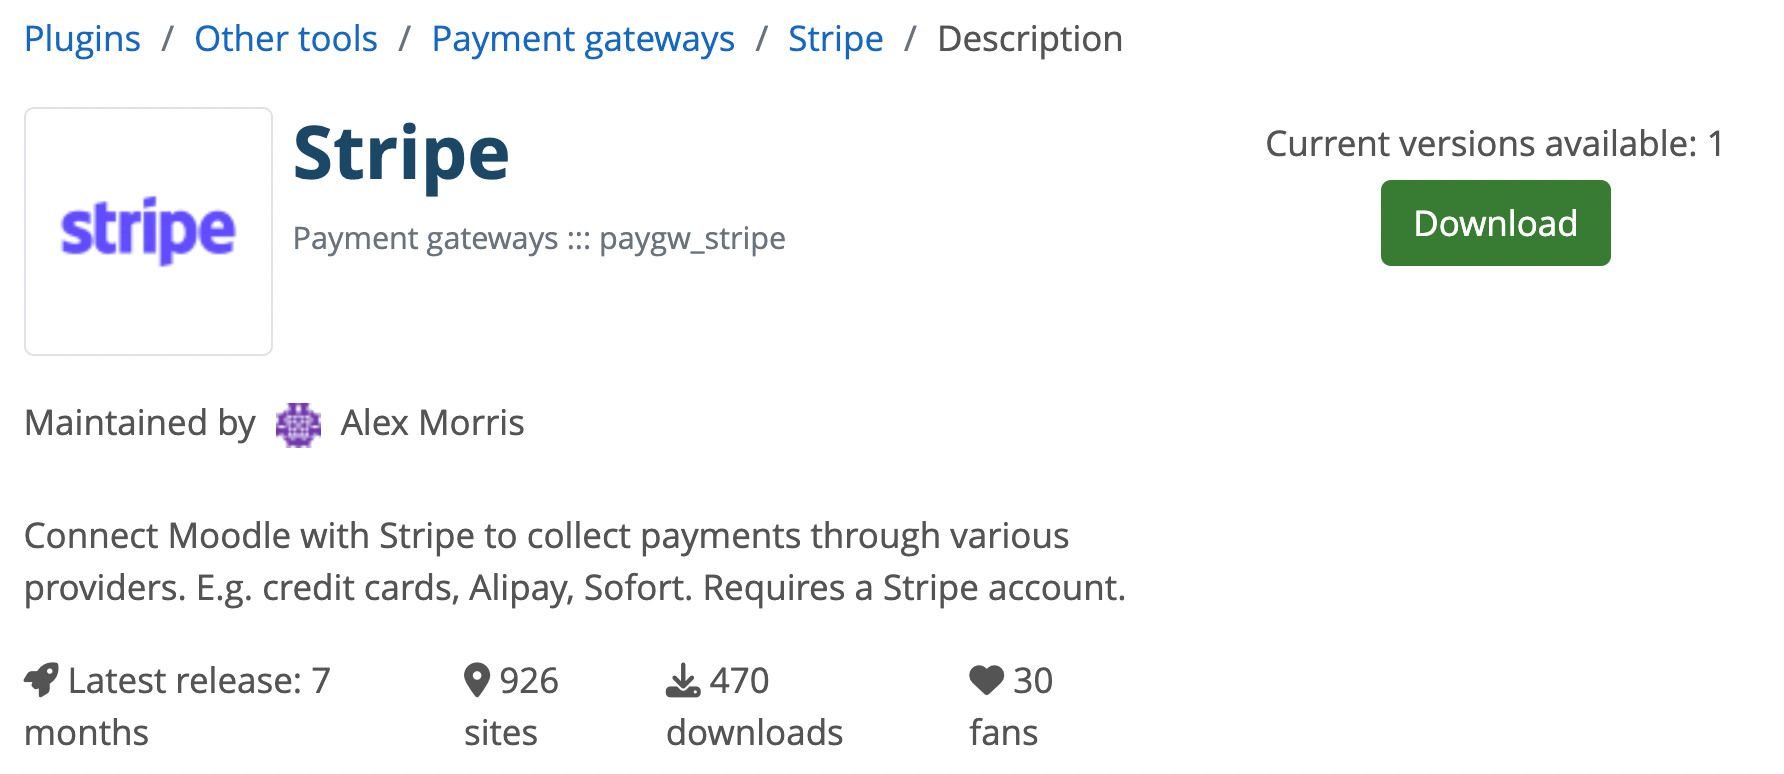
The "paygw_stripe" plugin
Make sure to download the version that corrspondes to your version of Moodle:

You can also consult Moodle documentation for general instructions for plugin installation. My prefered method is to unzip the downloaded plugin file and move the contents directly into the appropriate folder on my server.
For example, this is one way to avoid this "validation error":

This error can be avoided by manually moving the downloaded plugin files
to the proper folder on your server.
For example, after unzipping the downloaded plugin file, I could transfer its contents from the downloads folder on my home machine to the "payment gateway" Moodle folder on my server using the secure copy utility (scp):
scp -r /Users/[username]/Downloads/stripe
[username]@[servername]:/var/www/html/officehours.courses/payment/gateway
(The "-r" flag specifies that all contents of the "stripe" directory should be copied recursively.)
This manual method of installation is also more secure than allowing write access to the "payments" directory.
Upon detecting the new plugin, Moodle will prompt you to upgrade the Moodle database:
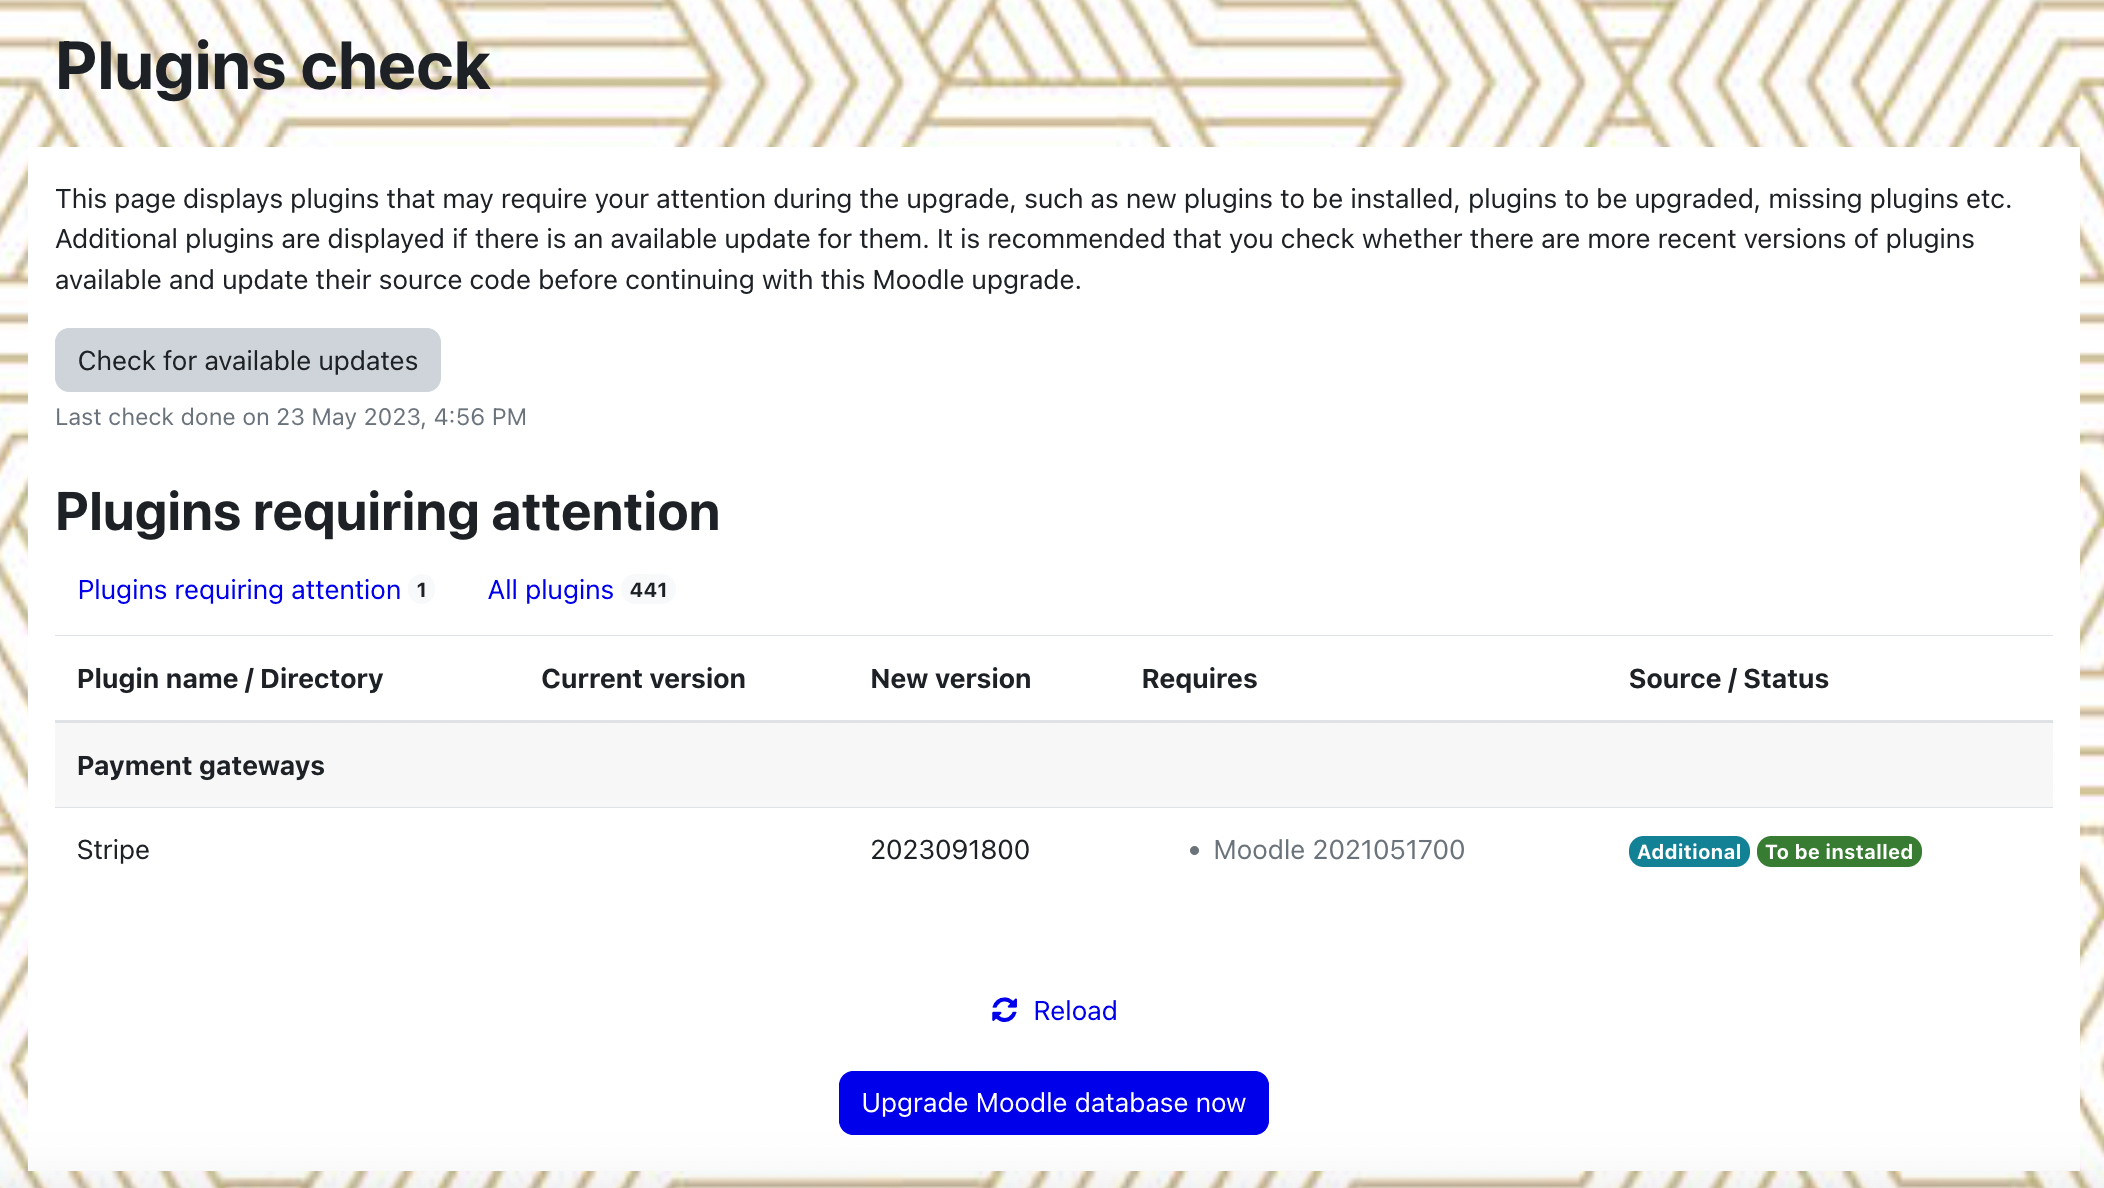
Click "Upgrade Moodle database now."
3. Surcharge Settings
Next, you will be prompted to set a percentage surcharge for customer purchases:

Surcharge percentage prompt
You may want to base this surcharge amount on the commision that Stripe will charge you to use their service. These fees vary from country to country. For example, in the US, the commision is 2.9% + $0.30:

The Stripe commision in the United States
4. Enable the Stripe payment gateway on Moodle
Now that the Stripe payment gateway plug-in is installed on your Moodle instance, you will need to enable it.
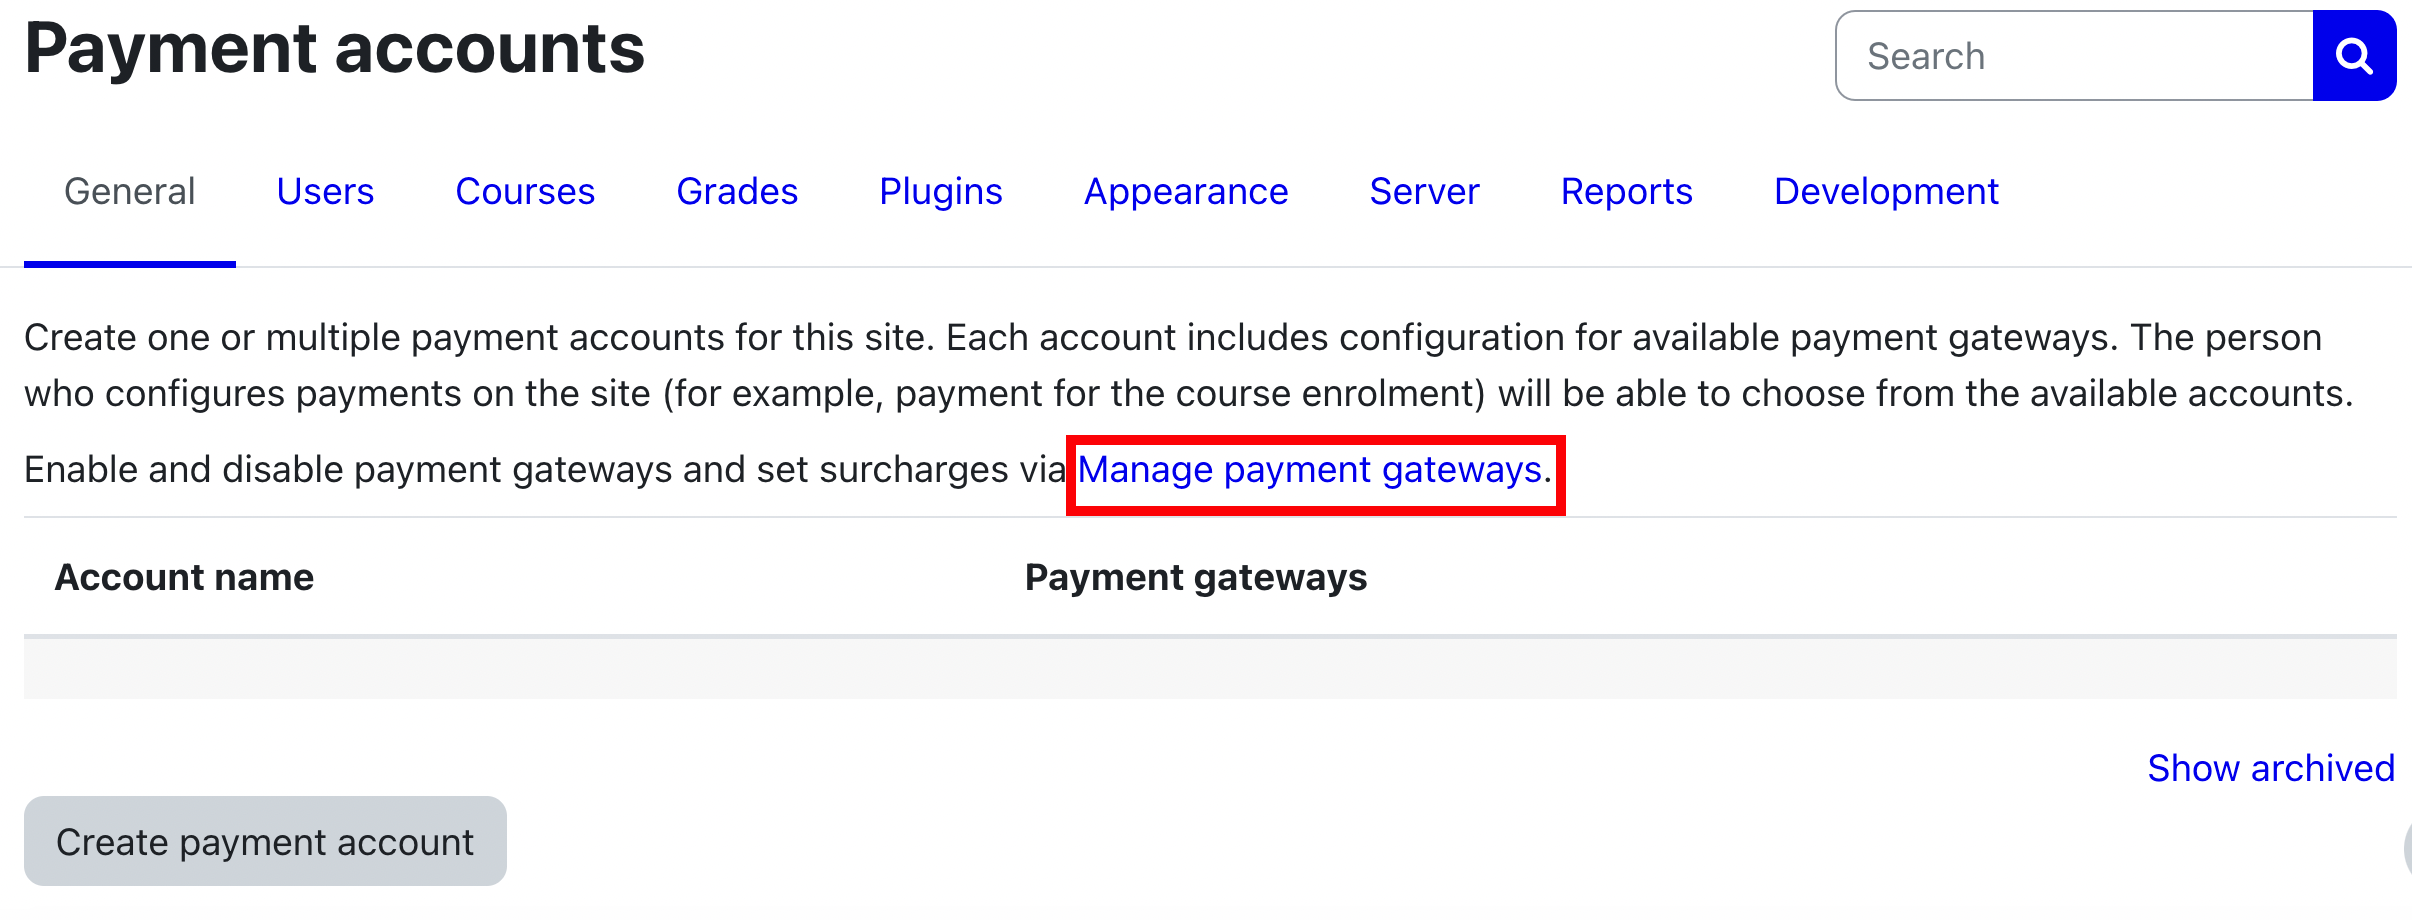
In the "General" tab of the "Site Administration" menu in the Moodle navigation bar, select "Payment Accounts:"

If this is your first time setting up payments on Moodle, you should not see anything under "Account name" or "Payment gateways."
Select "Manage payment gateways:"
Click on the eyeball icon to enable the Stripe payment gateway:

Enabling the Stripe payment gateway
5. Create a Payment Account on Moodle
The step is to link a specific Stripe payment account to Moodle through the new payment gateway. Go back to the "Payment Accounts" area, and select "Create Payment Account:"
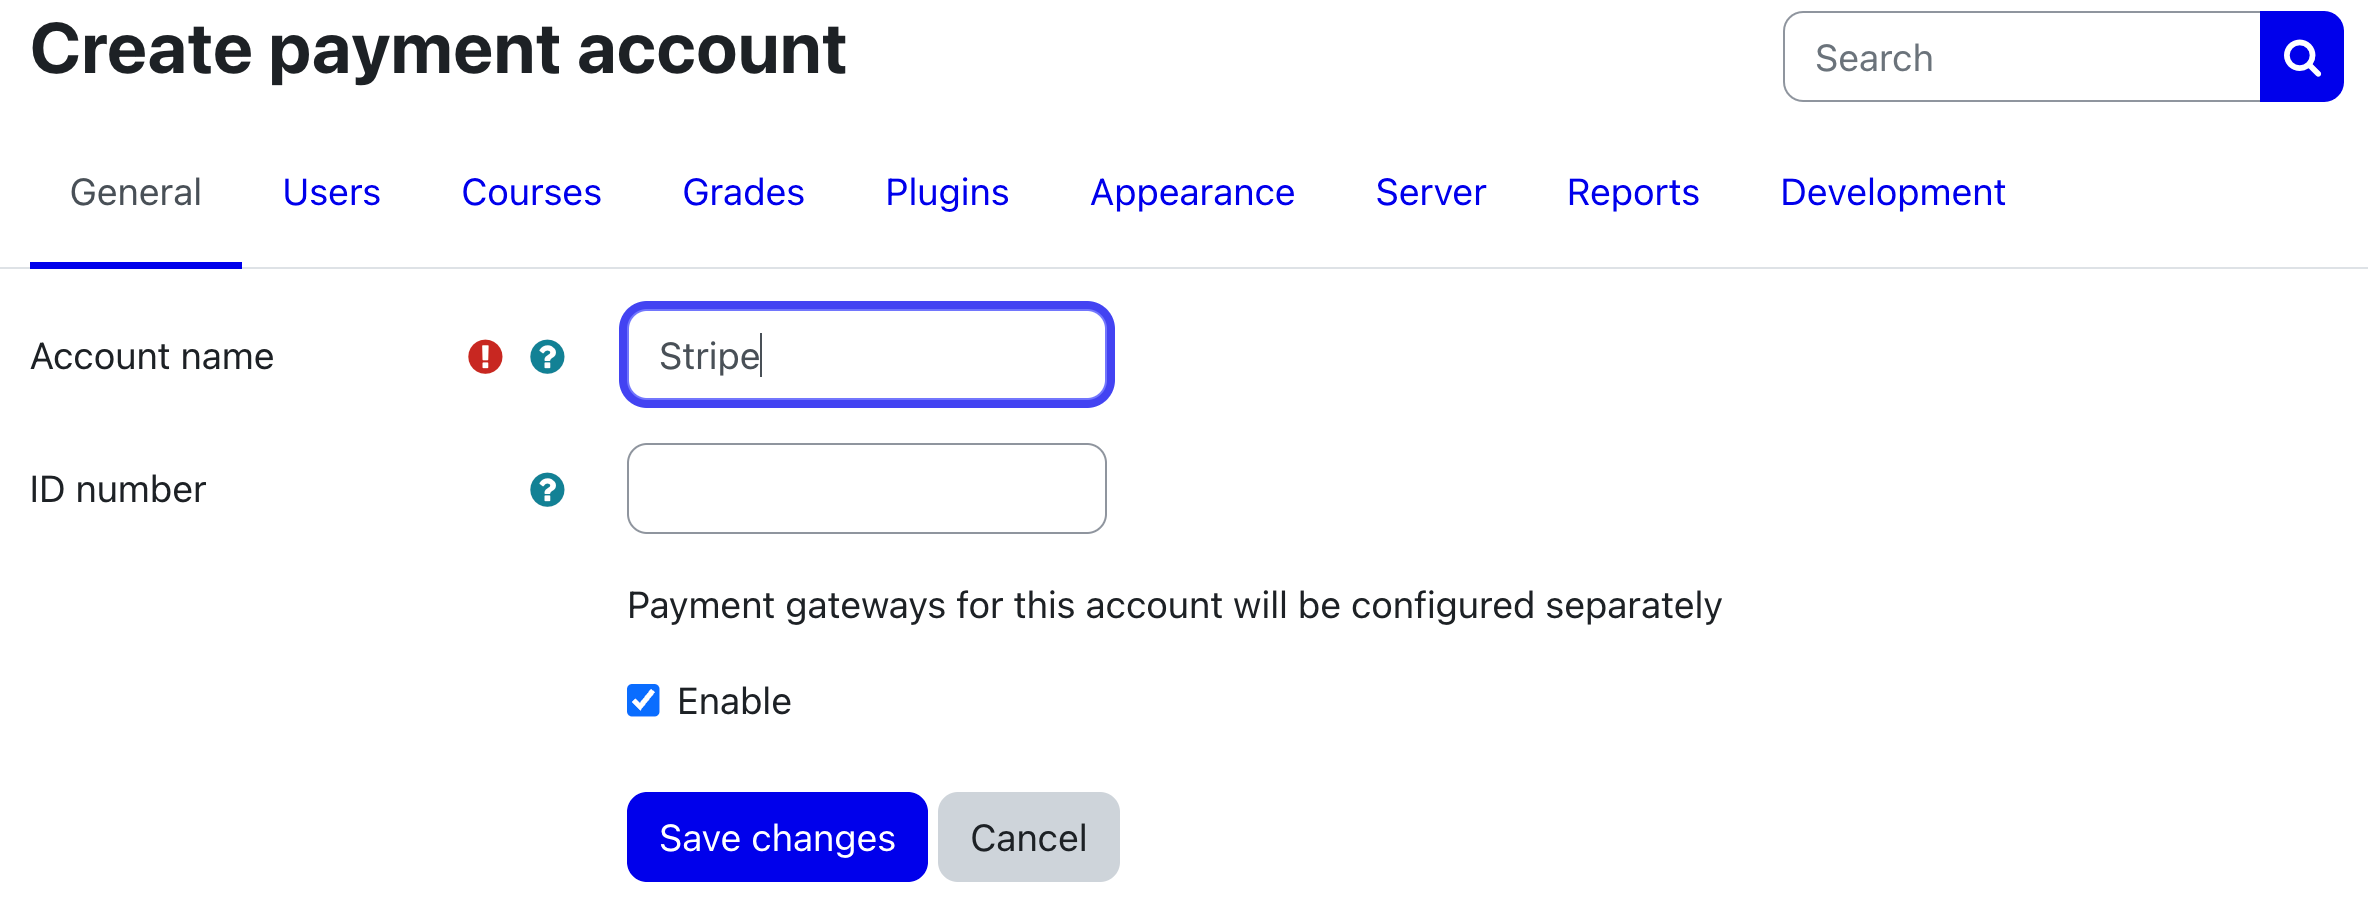
Creating a new payment account
You can leave the "ID number" blank and the "Enable" box ticked.
When you click "Save changes," you will now see an account has not been added to the list. You will also see that the "Stripe" gateway attribute is marked with a red X. This is because the payment gateway is not connected to your actual Stripe account yet. Click where it says "Stripe":

In the settings menu that appears, tick the box for "Enable" under "Payment gateway" and enter your "API key" and "Secret Key" from the "API keys" tab of the "Developers" section of your dashboard on the Stripe website.

Copy and paste the API keys from your Stripe dashboard
Next, you can set any other options that are appropriate, such as subscription options, tax behavior, and promotion code and trail period settings.
If your Stripe account is set up and your API key info is entered correctly, you should now see a green check mark next to the Stipe payment gateway:

The Stripe payment gateway is now configured!
6. Set the payment enrollment method
Now, we need to activate the payment enrollment method, which is not active by default on Moodle.
In the "Site adminstration" menu, go to "plugins", then "Enrolments" (yes, the Australian spelling only has one "l"):

The "enrollment on payment" enrollment method is not enabled by default
Click the "eye" icon to activate the enrollment method:

7. Set the course payment enrollment method
Next, in the "enrollment methods" menu for the course in question, you can now add and select the "Enrollment on payment" option:
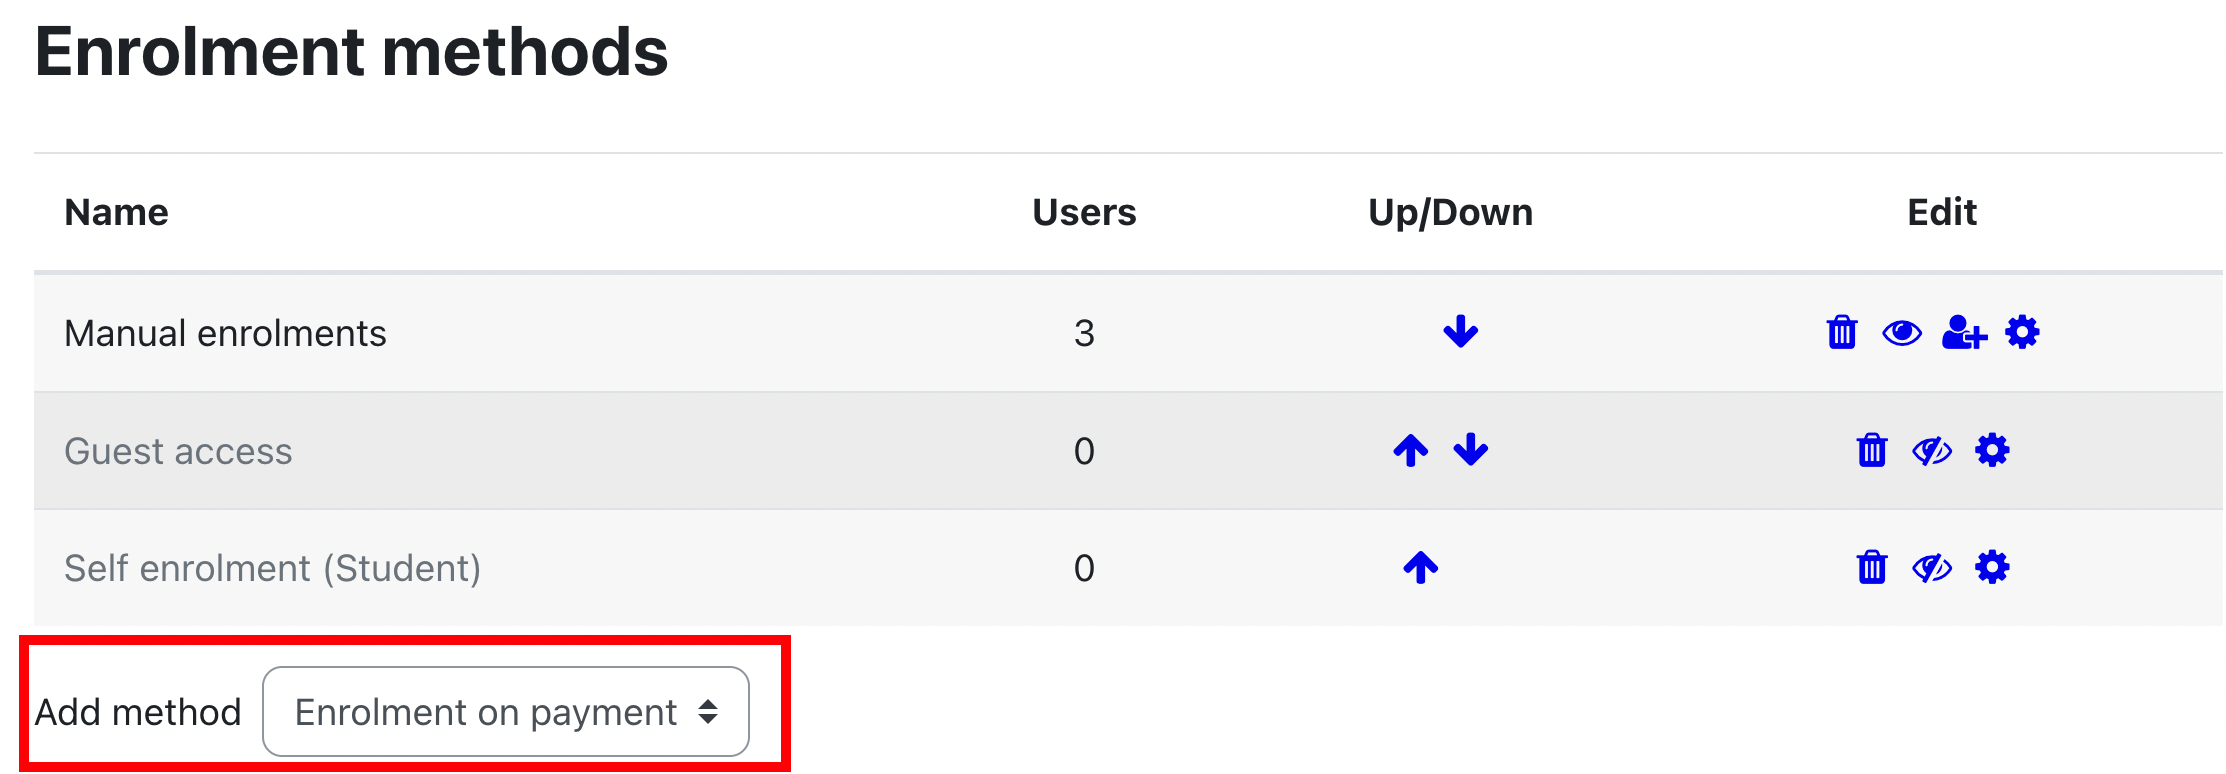
You will now see that the course as a "payment" icon next to it on the dashboard:
Congratulations! It works!
8. Testing
You can now test that your payment method is working. If you go to your Stripe dashboard you will see an alert informing you that you are using "test data:"

Stripe will warn you that you in testing mode using fake data
You can use a fake card number supplied by Stripe to make sure that everything is working without actually charging money to a real credit card.
You will see that there is an option to "Activate account" that you can click when you are ready to go live!
Conclusion
Integrating Stripe for monetizing content on a self-hosted Moodle instance offers educators a powerful and customizable solution to efficiently manage payments and monetize their courses. By following the step-by-step tutorial outlined in this article, educators can seamlessly set up Stripe within their Moodle platform, providing students with a secure and user-friendly payment experience. With Stripe's robust features, reliable infrastructure, and global reach, educators can confidently monetize their content while maintaining full control over their courses and maximizing their revenue potential. Embracing Stripe integration empowers educators to focus on what they do best: creating engaging and valuable learning experiences for their students, all while leveraging the flexibility and convenience of self-hosted Moodle instances.


