Installing Ubuntu Server on a VPS
This tutorial provides a comprehensive step-by-step guide for installing Ubuntu Server, a reliable and versatile operating system, to host a Learning Management System (LMS). From initial setup to configuring essential server components, readers will learn how to create a stable and secure environment tailored to their educational needs, empowering them to deliver effective online learning experiences.

Introduction
"Why Ubuntu Server?"
Ubuntu Server is a great operating system for self-hosting an LMS, espcially for the first time. First of all, it's the Linux distro that the most people use to host websites. This is due to its stability and security (it provides regular updates and security patches), extensive community support (there are tons of tutorials and troubleshooting forums online), and its ease of installation.
Ubuntu Server is a specialized version of the Ubuntu operating system designed to run servers and manage network services. Ubuntu, in turn, is a Linux distribution, or "distro." It's advantageous for beginner Linux users because it includes a wide range of server applications and tools, such as web servers, database servers, and file servers, right out of the box. Additionally, Ubuntu Server has a user-friendly interface and extensive community support, making it easier for beginners to navigate and troubleshoot.
We will install Ubuntu Server because it is more lightweight than the standard Desktop variant. In particular, it does not have support for a graphical user interface (GUI). Accordingly, we will interact with the guest opeating system though the command line interface. You can read more about the differences between Ubuntu Server and Ubuntu Desktop on the Ubuntu Wikipedia article.
"What's a Virtual Private Server and why should I use one?"
We'll install Ubuntu on a virtual private server, or VPS. A VPS is a mini, or virtualized, server inside a larger computer. Essentially, it's usually one of many servers that exist on the same machine, each compartmentalized from the other. You can rent a VPS from providers like NameCheap, DigitalOcean, etc. (FYI, I use NameCheap and the tutorials on this site reference their online interface, but you are free to use who you like.) Considering your VPS is not physically accessible to you, you need to access it remotely via secure shell (SSH). A couple really nice things about using a VPS are 1) that it's cheap and 2) that you don't have to worry about your server crashing and losing everything (if this happened to a big VPS provider, they'd be in some trouble...)
Prerequisites
- A few bucks (but much less than you'd spend otherwise!)
Instructions for VPS Signup
As mentioned above, I typically use NameCheap for VPS hosting (go to "Hosting" then VPS Hosting") and I'll assume you're using them for the sake of this tutorial. In my experience, NameCheap's VPS service has been reliable and is readily scalable. Additionally, NameCheap's VPS hosting comes with nice security features like DDoS protection and regular security updates. Finally, in our experience, NameCheap's customer support is pretty good, with knowledgeable staff available 24/7 to assist with any issues or inquiries. We've used their assistance many times, and the support staff is always pretty patient, even when I'm getting in touch becasue I've done something boneheaded... Also, if you do some looking around online (Reddit, etc.), you'll find that people really rail against some of the other providers. I too used to use another provider before NameCheap (I won't name names) and left because they kept billing me for cancelled services :/ Perhaps the only downside of NameCheap is that, in my personal opinion, their online documentation base can be a touch out-of-date and/or a bit disjointed. Often times, I've needed to complement it with some YouTube tutorial videos. Hopefully, LMStutorials.com can help fill that gap for you though! That's why I made it :)
Anyway, if you want to that route, you can purchase VPS hosting from NameCheap on their website.
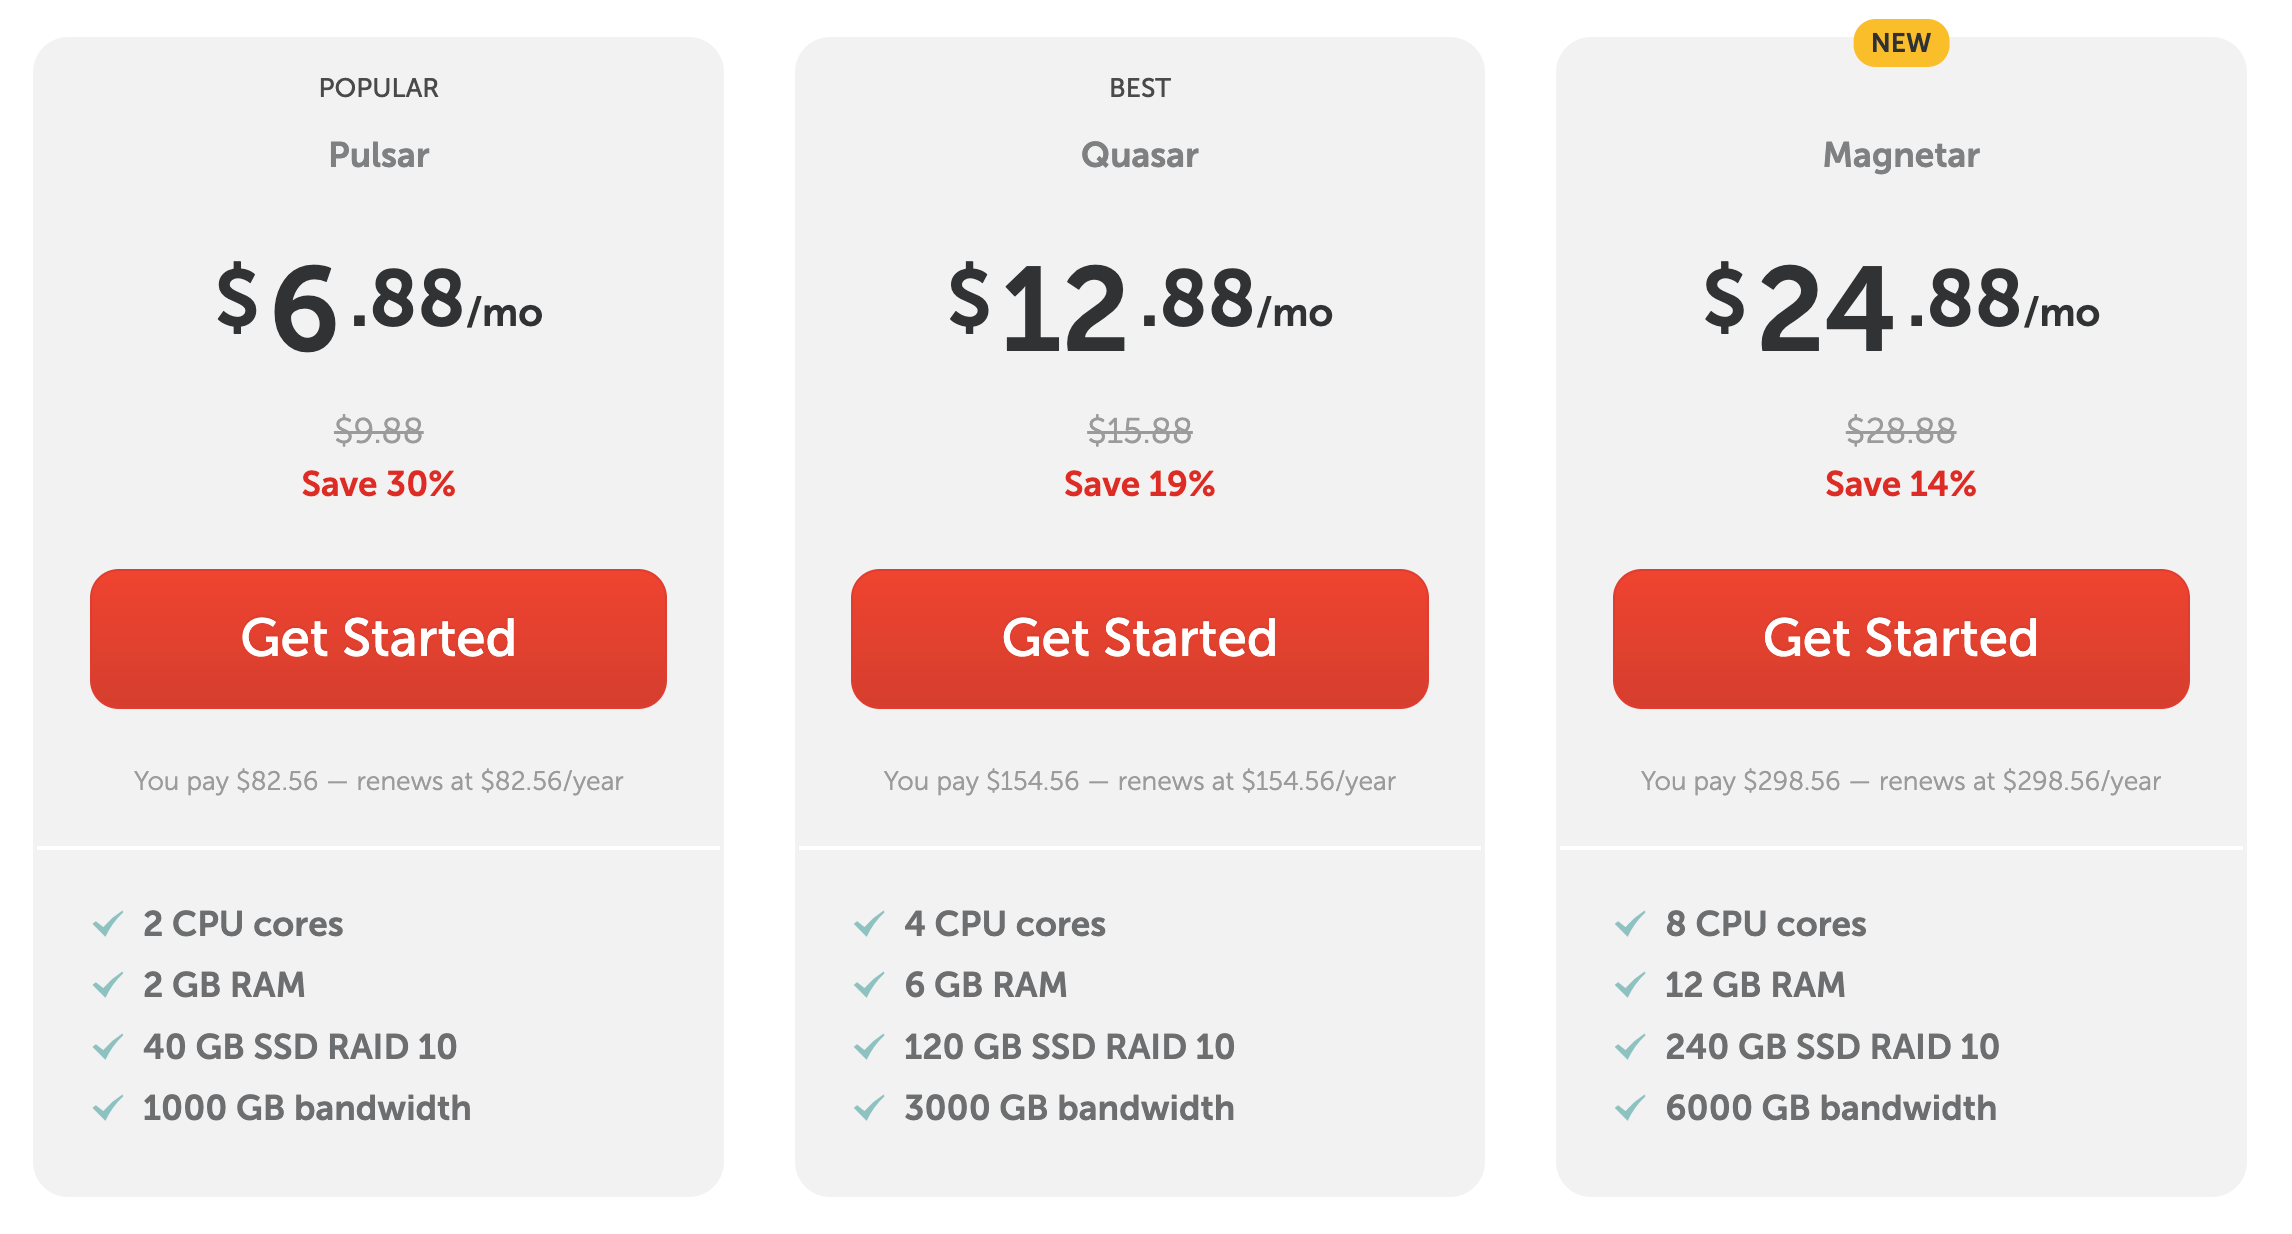
If you are setting up an LMS for the first time and/or you will be running a system for just a few courses and a handful of users, the minimal hosting option should be sufficient.

Choose a Virtual Private Server setup. The minimal option is fine for most basic LMS setups.
For example, Moodle recommends:
- Disk space: 200MB for the Moodle code, plus as much as you need to store content. 5GB is probably a realistic minimum.
- Processor: 1 GHz (min), 2 GHz dual core or more recommended.
- Memory: 512MB (min), 1GB or more is recommended. 8GB plus is likely on a large production server
For example, Open edX recommends for its "minimum configuration:"
- 4 GB RAM
- 2 CPU
- 8 GB disk space
Electing one of the more robust installations may be necessary for hosting Canvas. They recommend:
- 8 GB RAM
- 4 CPU
- 150 GB disk space
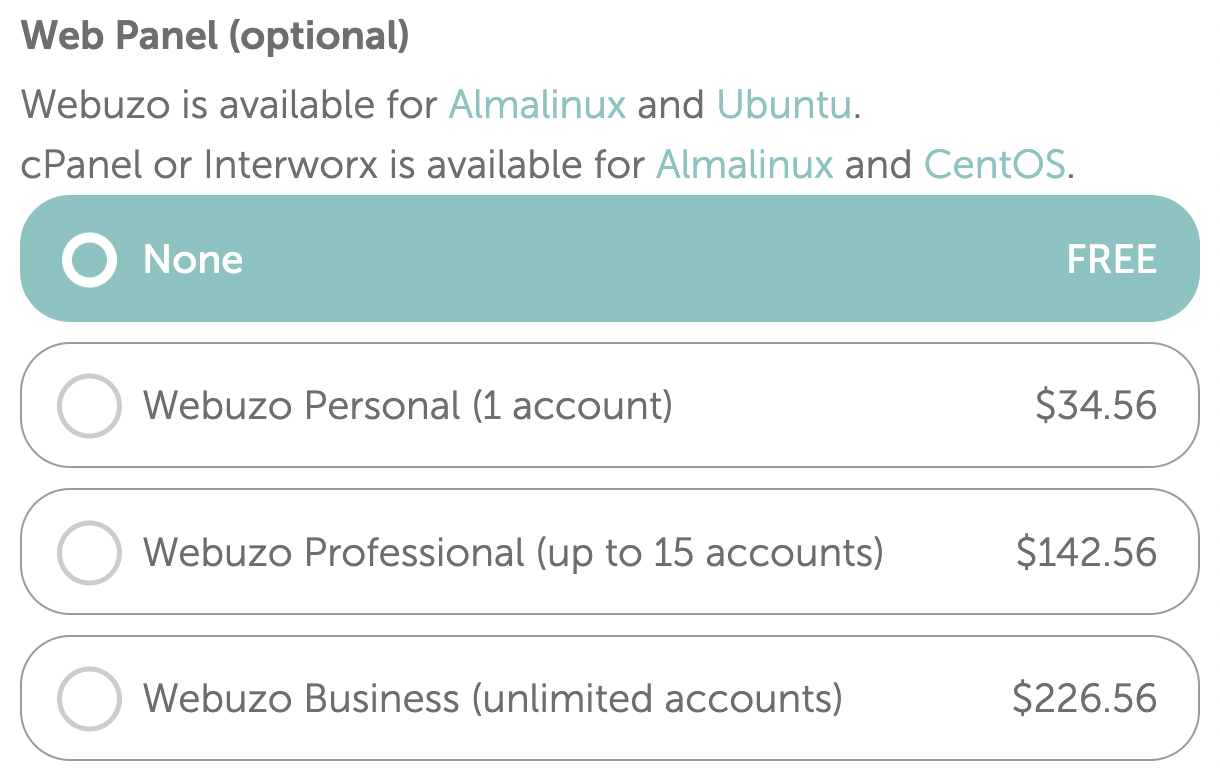
NameCheap will offer you ad-on features for managing your server. Don't worry though, if you're using our tutorials, the basic VPS service is sufficient.Therefore, you can go ahead and decline options like the Web Panel service.

You don't need a web panel service for your VPS. The basic package is fine.
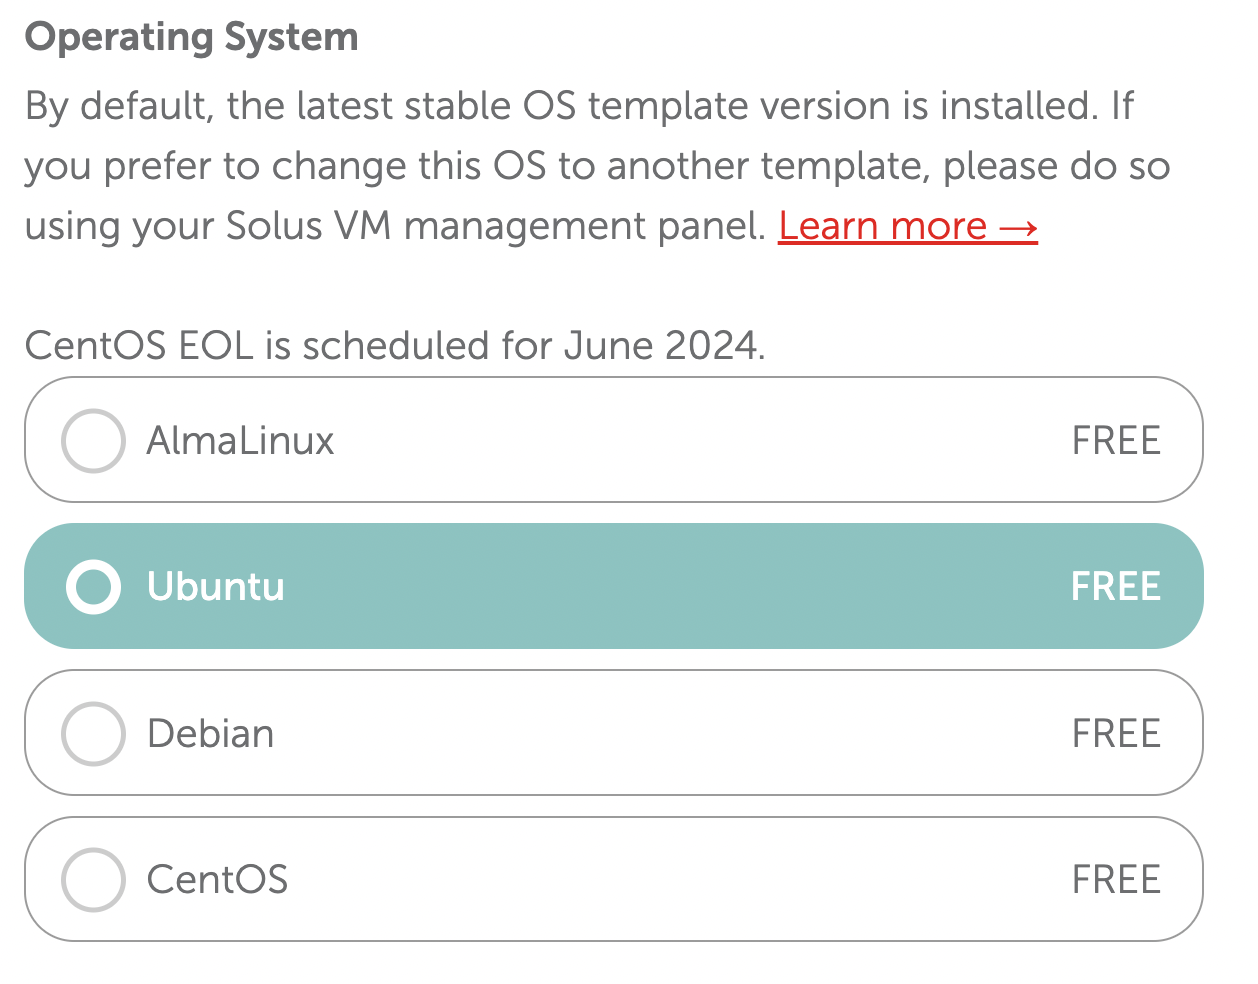
As for your system's operating system, select the Ubuntu option:

VPS OS Selection in NameCheap
Once selected, NameCheap will install Ubuntu Server on your VPS automatically.
Alternative to VPS Hosting: Installing Ubuntu Server on Your Own Server
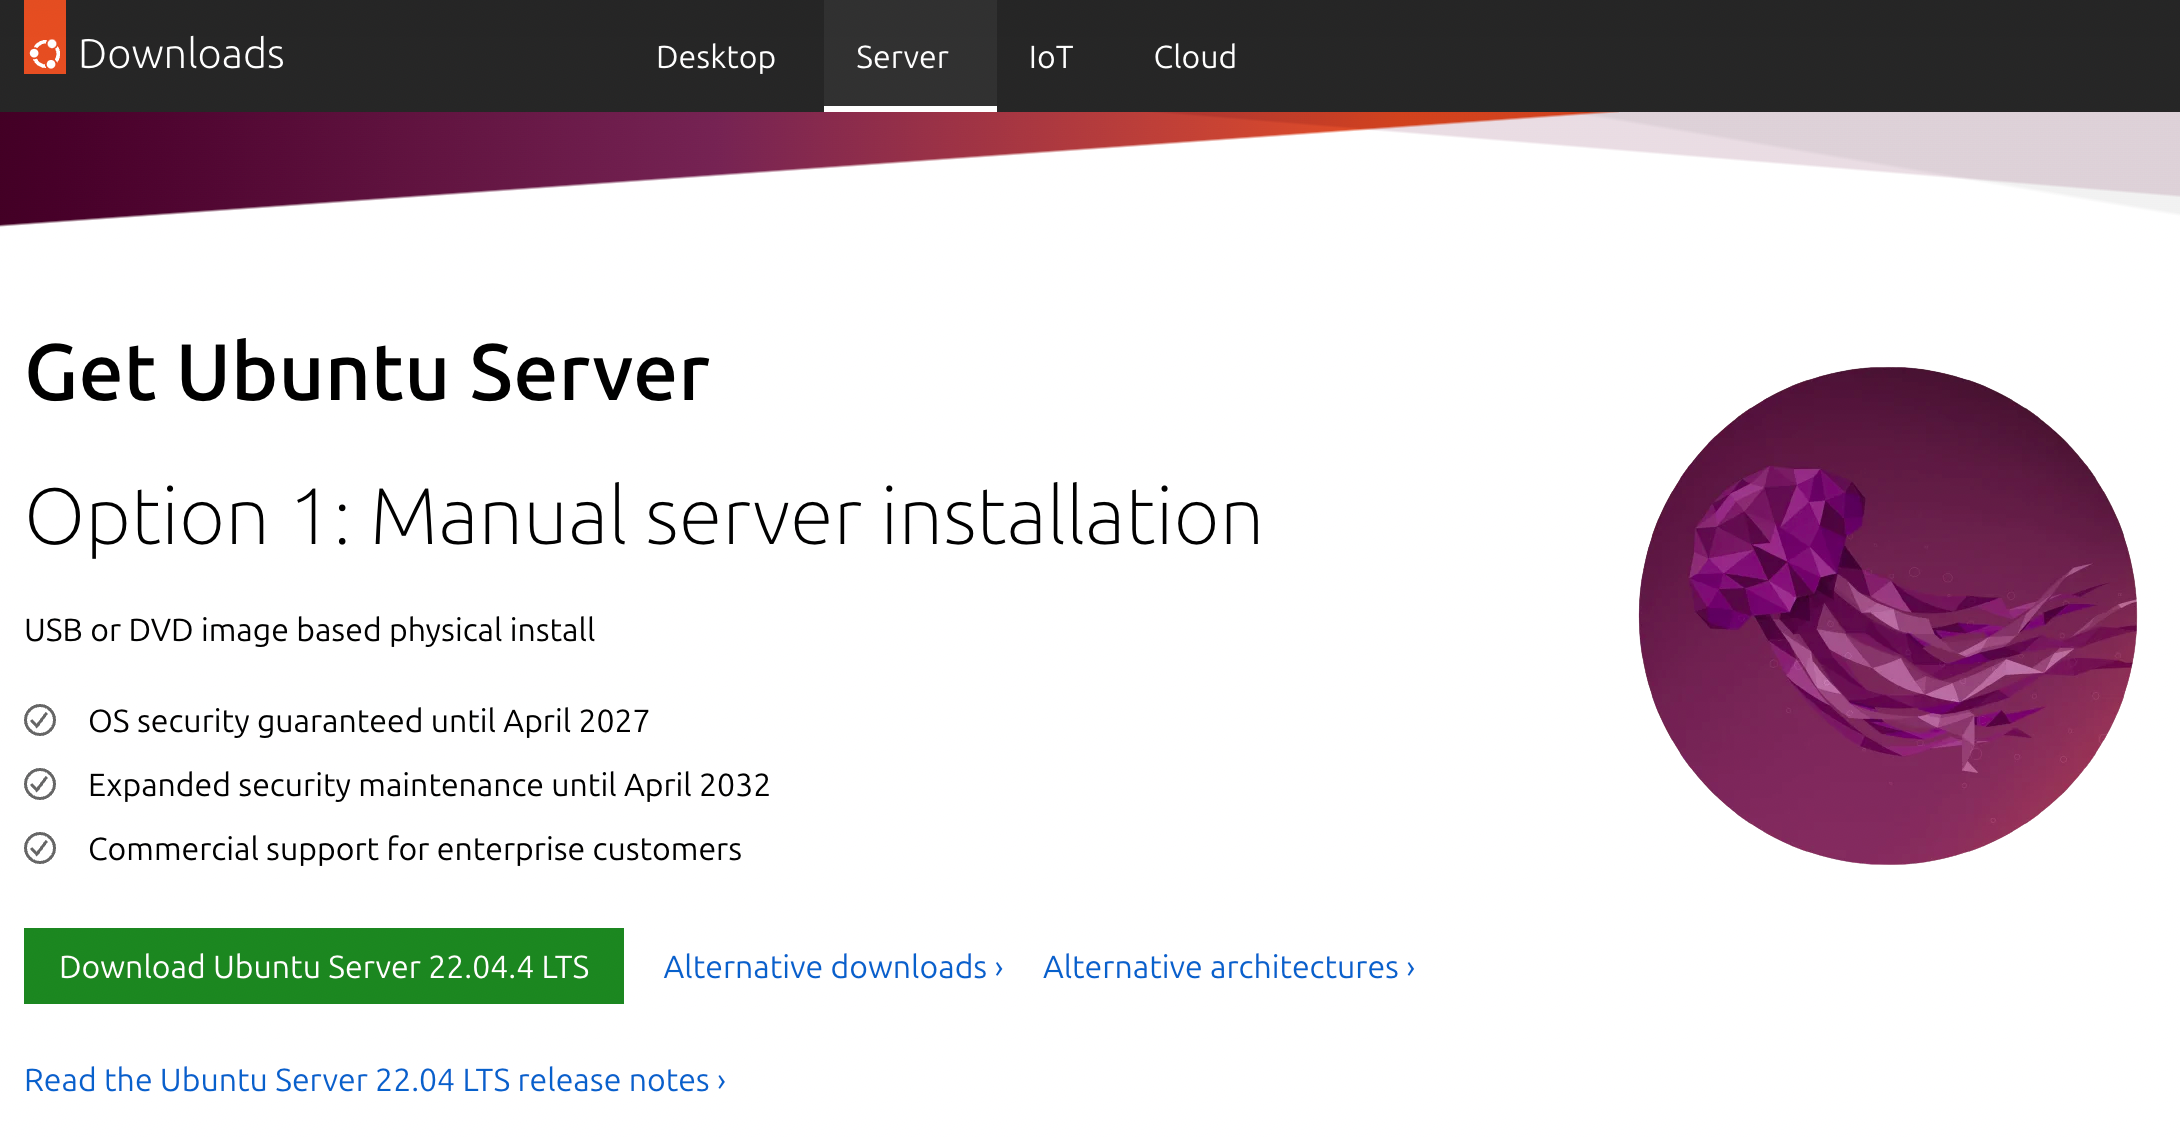
If you would like to host your LMS on your own physical server, you can download Ubuntu Server from the official Ubuntu website:

Download Ubuntu Server disk image
Understand, however, that you go this route, you will need a public IP address from your Internet Service Provider (ISP), which is often more expensive that going though a web hosting company. In fact, some ISPs do not even offer this service to their clients!
Conclusion
Congratulations, you're the proud new owner of a server! Give yourself a pat on the back.
You might be wondering now how you use it! So, the next step is to learn how to connect to your server remotely from your local machine using an application called Secure Shell, or SSH. Don't worry: we have a dedicated tutorial on setting this up!

